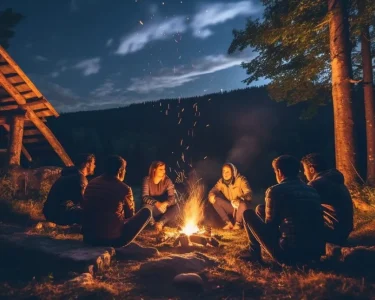

Winter in the Colorado Rockies is a stunning spectacle, but it can quickly turn challenging if you’re not prepared. Whether you’re snowshoeing through quiet forests, hiking to frozen lakes, or simply enjoying the peaceful winter landscape, things can take a turn for the worse when the weather shifts unexpectedly. In those moments, building a shelter becomes one of your most important skills. This post will cover how to build a winter shelter that keeps you warm, dry, and safe, so you can turn an unexpected setback into just another great story from your adventure.
Why Shelter Building Matters
The first rule of winter survival is preparing for the worst, even when everything seems perfect. A simple hike can become dangerous when snow starts falling faster than expected, or when a storm turns your route into a whiteout. In those moments, knowing how to build a shelter can mean the difference between a cold, uncomfortable night and a true survival emergency.
Before we dive into how to build a winter shelter, it’s important to know what gear you’ll need. With the right tools and techniques, you can create a secure and insulated shelter that will protect you from the elements until the storm passes or help arrives.
What to Pack for Shelter Building
Packing smart for shelter-building is key. Here are the essentials to keep your pack light but practical:
- A lightweight tarp (for quick shelters)
- Paracord (at least 25 feet)
- A collapsible snow shovel
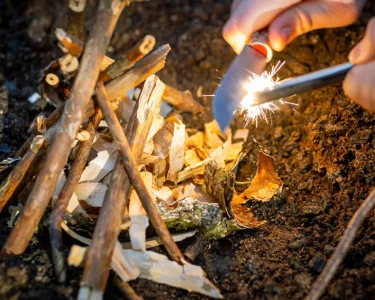
- Waterproof matches or a reliable lighter and ferro rod
- Gloves for digging and handling materials
- A multi-tool or knife for cutting branches
- Heavy-duty black trash bags
- Mylar emergency blankets
With these basic items, you’ll be ready to create a shelter in various conditions.
Step 1: Picking the Right Spot
Location is everything when building a shelter. Choosing a poor spot can undermine even the best shelter construction efforts. Don’t waste time searching for perfection, but do prioritize safety and practicality.
What to Look For:
- Flat Ground: Avoid steep slopes where snow might slide, and uneven ground that could make sleeping uncomfortable.
- Natural Windbreaks: Use trees, boulders, or terrain features to shield your shelter from strong winds.
- Snow Depth: Look for areas with at least 3 feet of packed snow for snow caves or quinzhees. If snow is shallow, a tarp shelter is a good alternative.
- Sun Exposure: If possible, choose a spot with some sunlight to help warm your shelter during the day.
- Near a Water Source, but Not Too Close: Stay 100 feet away from streams or lakes to avoid the cold temperatures and risks of flash flooding.
What to Avoid:
- Hilltops: These are exposed to high winds and lightning.
- Dead Trees or Branches: Never build near these “widow makers,” as they can fall without warning.
- Avalanche-Prone Areas: Avoid steep slopes with signs of past avalanche activity.
- Low-Lying Areas: These are colder and may accumulate water if snow melts.
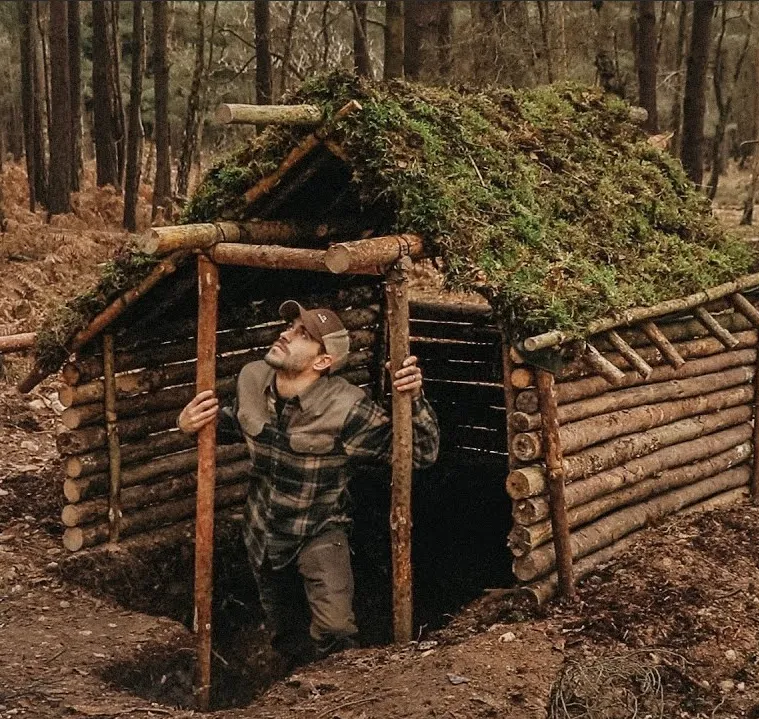
Step 2: Shelter Options and How to Build Them
Building a shelter doesn’t require a lot of fancy equipment, just the right technique. Here are some practical shelter options you can build with minimal gear.
1. Lean-To Tarp Shelter
A lean-to shelter is a fast and effective way to stay out of the wind, especially when you’re short on time.
What You Need:
- A tarp
- Paracord
- Basic knot-tying skills
How to Build It:
- Secure one side of the tarp to sturdy trees or branches using paracord and knots.
- Angle the tarp so it deflects the wind and snow.
- Secure the edges with stakes, rocks, or extra paracord.
- Insulate the ground beneath you using pine boughs or leaf debris. Aim for at least 4 inches of insulation to protect against the cold ground.
Pro Tip: Practice knot-tying before your trip, so you can set up quickly in an emergency.
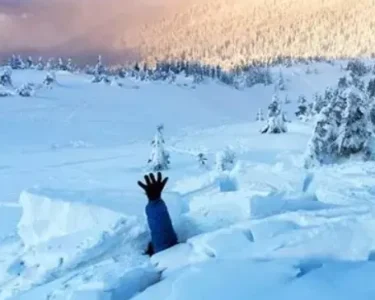
2. Snow Caves
Snow caves are fantastic for insulation, as snow is an excellent natural insulator. If you’re in an area with deep snow, building a snow cave can provide warmth and protection.
What You Need:
- A shovel
- Gloves
- Patience
Step-by-Step Guide:
- Find a deep snowbank or drift that’s at least 3 feet thick.
- Dig a small entrance tunnel that angles upward to trap warm air inside.
- Hollow out the sleeping area, ensuring the walls and ceiling are at least 12 inches thick.
- Add ventilation holes to the roof for airflow.
- Insulate the floor with pine boughs or extra gear to prevent heat loss.
Design for Warmth:
- Sleep in the highest part of the cave where warm air naturally collects.
- Dig a small “cold air sump” lower in the shelter to keep the coldest air away from your sleeping area.
3. Quinzhee
Building a quinzhee requires more time and effort, but it’s one of the most durable winter shelters once completed.
What You Need:
- A shovel
- Gloves
- Patience
Step-by-Step Process:
- Pile snow into a mound that’s at least 6-8 feet high and 8-10 feet wide.
- Let the mound sit for 1-2 hours to allow the snow to bond and become more stable.
- Carve a tunnel into the mound and hollow out the interior, ensuring the walls are thick enough to support weight.
- Add ventilation holes to prevent suffocation.
- Insulate the floor with pine boughs or extra gear to reduce heat loss.
4. Snow Trench Shelter
When time is tight, or resources are limited, a snow trench shelter is a quick and effective option. It won’t win any comfort awards, but it will keep you out of the wind and provide shelter from the cold.
Step-by-Step Instructions:
- Find a flat spot with enough snow, away from high winds and avalanche-prone areas.
- Dig or pack a trench about 2-3 feet deep and as long as your body.
- Lay down insulation (pine boughs or a sleeping pad) to keep warm.
- Cover the trench with a tarp, securing the edges with snow.
- If you have extra materials, add a second layer of insulation or a space blanket on top.
Insulating and Maintaining Your Shelter
Once your shelter is built, you’ll need to focus on insulation and maintenance to keep it warm and functional:
- Insulation Tips: Use branches, pine boughs, or extra clothing to block wind and insulate the shelter.
- Maintenance Tips: Regularly check the roof for sagging or weak spots, especially after snowstorms. Keep ventilation holes clear of snow to maintain airflow.
Signal Fires and Smoke Signals
In a survival situation, a well-built shelter is crucial, but signaling for help could save your life. A smoke signal is an effective way to alert rescuers to your location.
How to Build a Smoke Signal:
- Build a raised platform for the fire to ensure good air circulation.
- Prepare the fire lay with dry tinder, kindling, and larger wood.
- Add green branches like pine boughs above the fire to create thick smoke.
- Maintain the fire and add green boughs as needed to generate more smoke.
Final Thoughts
Building a winter shelter isn’t just about survival; it’s a crucial skill that allows you to confidently face the elements in the Colorado Rockies. Whether you’re building a quick tarp shelter or crafting a sturdy snow cave, knowing how to create a safe space will make all the difference when things don’t go as planned. Always be prepared, stay calm, and embrace the challenge—the mountains are waiting for your next adventure.