
A good night’s sleep in the backcountry starts with the right sleeping bag. Pick one that matches your conditions and you’ll wake up rested; pick the wrong one and you may spend the night counting shivers. To simplify the decision, think through five essentials: the temperatures you’ll face, the insulation you prefer, the shape and weight that fit your style, the features that matter to you, and your budget.
- Dial in your temperature range
If you’ll own a single bag, aim for a versatile middle ground that covers most trips you actually take. Consider where you camp, the seasons you prefer, and whether you typically sleep warm or cold.
Many brands use standardized lab tests (often shown as comfort and lower-limit ratings) to help you compare across models. The comfort number reflects a typical cold sleeper; the lower-limit number reflects a typical warm sleeper. Use those as guideposts and adjust for your own tendencies.
• Summer (about 30°F and up): Ultralight, highly packable bags for warm climates and low elevations. At altitude—even mid-summer—you may want something warmer.
• Three-season (roughly 15–29°F): The sweet spot for most backpackers, covering cool mountain nights in summer and shoulder-season trips without feeling stifling in milder weather.
• Winter (around 0–14°F): Built for true cold—expeditions, mountaineering, and multi-day snow travel. Expect more warmth, more weather resistance, and more bulk.
- Pick your insulation
Your insulation choice dictates warmth-to-weight, packed size, durability, and wet-weather performance.
Down
Down offers the best warmth for its weight and compresses incredibly small. Higher “fill power” (the loft per ounce) means better efficiency; premium fills pack smaller and weigh less. Downsides: price, and a steep drop in performance when saturated. Water-resistant shell fabrics and hydrophobic down treatments improve resilience to damp conditions but don’t make down immune to soaking.
Construction matters, too. Sewn-through baffles save weight but can create cold spots along stitch lines; box-baffle designs minimize cold spots and maximize loft at a small weight and cost penalty.
Synthetic
Synthetic fills keep insulating when wet and are generally easier to care for and kinder to your wallet. They typically weigh more and don’t compress as well as down, and long-term loft recovery is usually shorter. For frequently wet climates, beginners, and car camping, synthetics are a smart, low-maintenance pick.
Hybrid
Some bags combine the two—often placing synthetic in moisture-prone zones and down elsewhere—to balance damp-weather reliability with lighter weight and better packability.
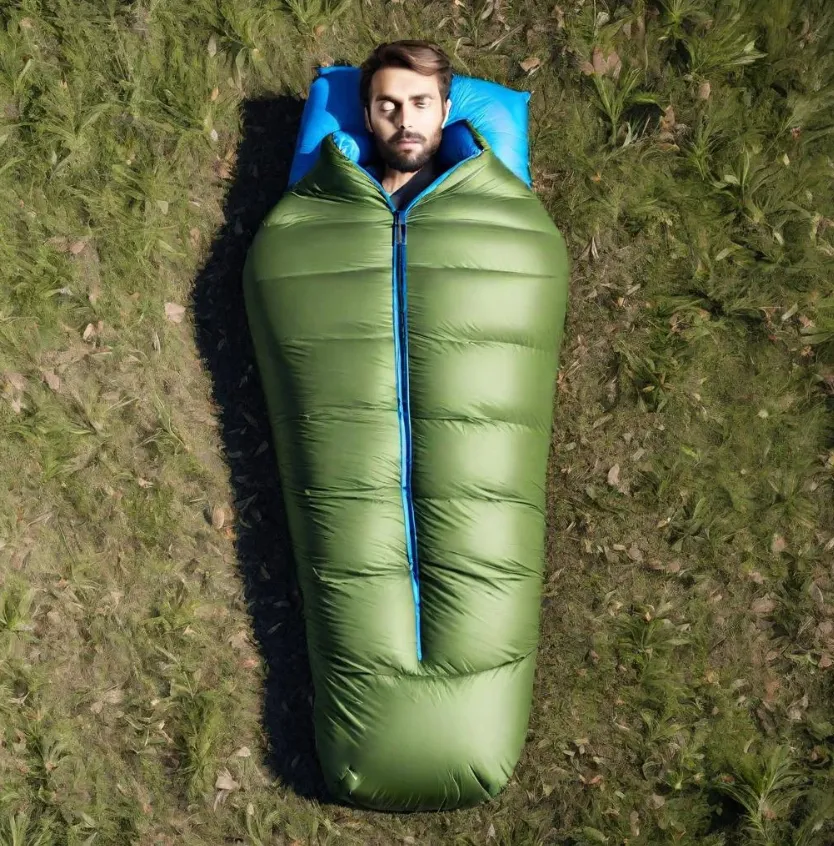
- Choose a shape—and mind the ounces
Fit affects both comfort and warmth. Less dead space means less air for your body to heat.
• Rectangular: Spacious and comforter-like for warm weather and front-country use, but bulkier and less thermally efficient.
• Mummy: Tapered with a hood to minimize air pockets and weight; the standard for backpacking warmth and efficiency, though some find it confining.
• Alternative cuts: “Spoon,” “barrel,” or wearable designs add room where side-sleepers or broad-shouldered users need it. Double bags pair sleepers without juggling zippers and drafts.
• Quilts: Ultralight options that ditch insulation under your back (your pad does that job). Often include a footbox and pad attachment to block drafts—great for ounce counters and those who dislike tight bags.
Women’s-specific models typically add room at the hips, reduce shoulder width, and often include extra insulation in colder zones. Whatever you choose, match bag length to your height: too short is uncomfortable, too long adds weight and can create cold spots at the feet.
- Focus on useful features
Small details make a big difference at 2 a.m.
• Hood and adjustments: A well-shaped hood that cinches smoothly helps trap heat. Differentiated drawcords (easy to tell apart by feel) are a nice touch.
• Draft control: Insulated collars and draft tubes reduce heat loss around the neck and along zippers.
• Zipper choices: Left or right placement is personal preference; matching sides can allow two bags to zip together if the zipper coils are compatible.
• Pockets: A small stash pocket near the collar keeps essentials—headlamp, lip balm—within reach.
• Pad integration: Sleeves or strap systems keep you centered on your pad and can allow designers to cut bottom insulation for weight savings. Make sure the setup still lets you shift positions comfortably.
• Packability: Quality stuff sacks and optional compression sacks help you minimize volume; just store the bag loose at home to preserve loft.
- Set a smart budget
Price tracks with warmth rating (more insulation costs more), insulation type (down generally costs more than synthetic), construction complexity (box baffles vs. sewn-through), and premium features. Spend where it counts for your trips: winter-rated down bags and expedition features command higher prices, while three-season synthetics can stretch a budget nicely. Don’t forget to plan for a proper sleeping pad; your bag and pad work as a system.
Bottom line
Start with the coldest nights you realistically expect, choose an insulation that matches your climate and priorities, pick a shape that fits your body and sleep style, then add the features you’ll actually use. Do that, and you’ll pack a bag that’s warm, light enough to carry, comfortable to sleep in, and built for the conditions you love most.