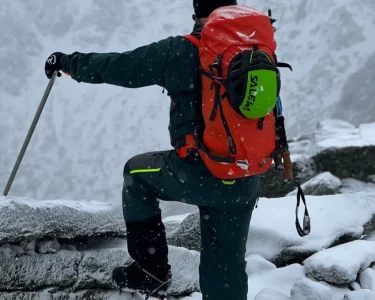

In 2015, during a climb up Washington’s Glacier Peak, a friend pulled out her phone and showed me a detailed map of our location. I was amazed — it was far more precise than any printed topographic map I had used. When I asked what app she was using, she said, “Gaia GPS.” Back then, it was available only on iOS, and for the first time, I wished I had an iPhone.
Searching for the Perfect Navigation Tool
For years, I experimented with different navigation apps. I used Google’s My Tracks until it was discontinued. My husband tried AllTrails, which worked for short hikes but struggled with our off-trail adventures. I turned to CalTopo to print maps and paired them with a compass — old-school but reliable.
Later, I tried BackCountry Navigator, but the ads were distracting, and I often forgot to download maps before trips. I also used TraceSnow for ski days within resorts, but it wasn’t suitable for backcountry routes. Strava was great for tracking runs or road rides but lacked detailed maps for remote terrain.
As someone who hikes, climbs, and skis, I need more than a basic map — I need reliable, detailed navigation for wilderness routes. That’s when Gaia GPS became my go-to. It took time to learn, but once I did, it completely changed the way I planned and executed outdoor trips.
Getting Started with Gaia GPS
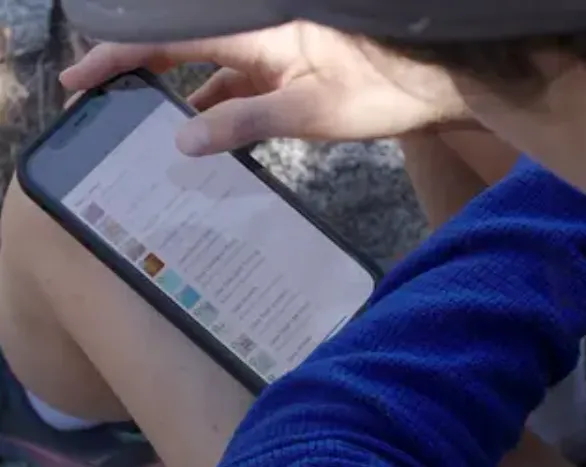
A Gaia GPS membership is well worth it. Paid plans allow you to print maps, download them for offline use, and access over 250 different map sources. Once you create an account and sign up, you can plan routes, navigate, and track your activities with precision.
If you’re new to reading topographic maps, take time to learn the basics. Understanding contour lines, elevation, and terrain types makes your trips safer and more enjoyable.
Exploring Map Sources
One of Gaia GPS’s strengths lies in its library of map layers. The Gaia Topo (feet) base map comes free and provides contour lines, elevation details, and trail information. For extra depth, add a US Shaded Relief overlay at low transparency for a subtle 3D effect.
Subscribers can also access National Geographic Trails Illustrated maps, which cover many U.S. parks and wilderness areas. With Gaia’s membership, you can print these maps directly, saving you from buying physical copies.
To add a map source:
- Tap the “Map Layer” icon.
- Drag your preferred layer to “Visible” or browse under “More Layers.”
- Adjust transparency and layer combinations for better visibility.
Planning Your Trip
Before heading out, use Gaia GPS to map your route. Studying your path in advance keeps you from hesitating once you’re on the trail.
1. Create a Route
Gaia’s snap-to-trail feature makes it easy to link multiple trails together and automatically calculate distance and elevation gain. This feature is especially helpful for long treks, like my 10-day backpacking trip in Norway’s Lofoten Islands.
To create a route:
- Tap the ⊕ button.
- Select “Create Route.”
- Save it to a folder or share with hiking partners and emergency contacts.
2. Add Waypoints
Mark backcountry campsites, water sources, or scenic spots as waypoints. These markers are useful for navigation and for identifying which sections of the map to download for offline use.
3. Explore Public Tracks
Gaia’s website lets you view and overlay other users’ public tracks. When I planned my Mount Rainier climb, I reviewed recent GPS tracks from others to guide my own route choices.
4. Use Hike Search
The Hike Search tool helps you discover trails near parks, cities, or forests. You can filter results by distance and difficulty to match your goals. It’s a great resource for spontaneous trips or exploring new areas.
5. Download Offline Maps
Most adventures take you beyond cell coverage. Gaia GPS allows you to select map areas and download them for offline use. Remember to test downloads while still on Wi-Fi to ensure they’re saved properly.
To download maps:
- Tap the ⊕ button.
- Select “Download Map.”
- Highlight the area, adjust zoom, and save.
Your saved maps appear under “Saved → Maps.”
6. Print Paper Maps
Technology fails sometimes, so always carry a paper backup. You can print maps directly from Gaia’s website after customizing sources, scale, and orientation.
Navigating on the Trail
When it’s time to hit the trail, Gaia GPS becomes your live navigation tool.
- Record Your Track: Tap “Record” on the Status Bar or Trip screen. Use “Guide Me” for a top-down view of your path.
- Pause and Resume: Pause your track for breaks or campsite searches. Resume recording when you continue your journey.
- Save and Sync: After your hike, save and sync your track to the cloud for easy access later.
Optimizing Your Settings
Under “Settings,” customize the Status Bar to show real-time data like distance, moving time, and altitude. Check GPS accuracy by tapping the satellites icon under the “Trip” menu.
To conserve battery, enable airplane mode and disable “Keep Screen On.” For longer trips, bring an external battery pack to recharge your phone.
Managing Saved Data
Use the “Saved” section to organize all your tracks, routes, and maps. Sync regularly to prevent data loss:
- Go to “Settings → Account & Subscription → Last Sync”
- Ensure “Sync with GaiaCloud” is enabled.
After trips, delete old downloads to free space, and organize your files into folders for easy reference. You can manage folders directly on the website for a clearer overview.
Final Thoughts
Learning to use Gaia GPS takes patience, but once mastered, it becomes an essential outdoor companion. From planning routes to tracking progress and ensuring safety, this app combines technology and adventure seamlessly. Whether you’re summiting peaks or exploring quiet trails, Gaia GPS empowers you to navigate with confidence and enjoy the wild with peace of mind.